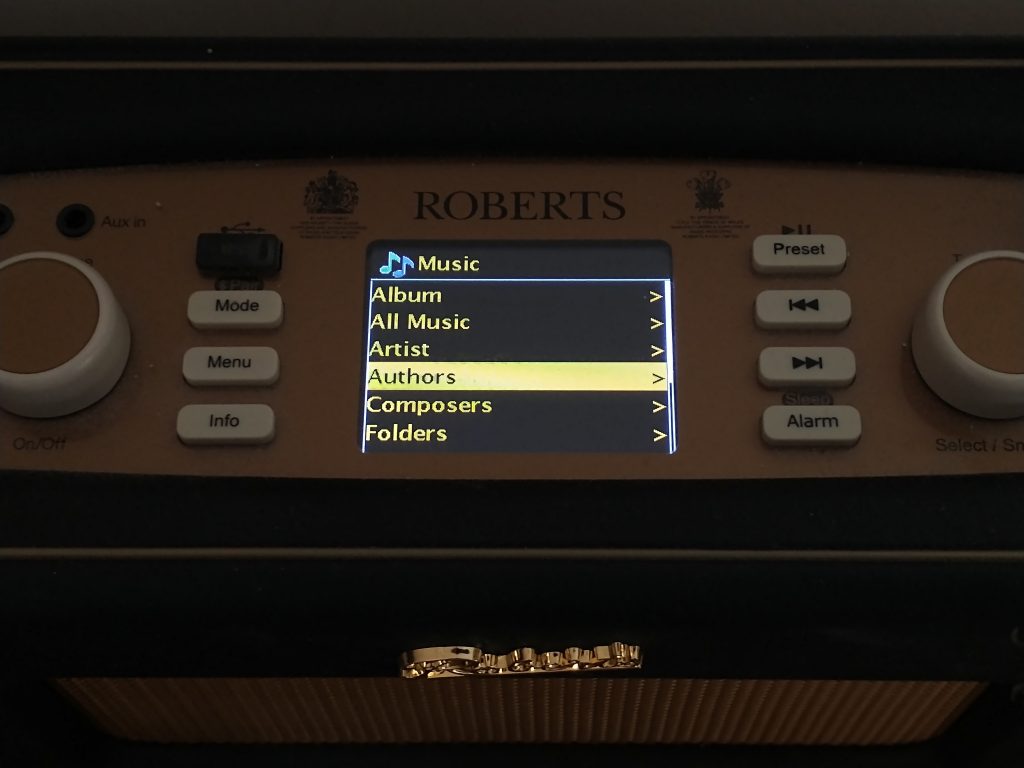
MiniDLNA is a piece of server software implementing the DLNA/UPnP protocols. The software serves media files (music, pictures and video) to clients on a network. THe software discussed here has been used along a number of Roberts Istream Radios, as well as the VLC app running on android phones, Ipad tablets and PC

There are several sources for the code on the internet. Alternatively you could use the sources given below. These have been modified to include support for composer and author tags. The code as compiled here has been in use for many months. We can however take no responsibility for any problems you may have as a result of it.

To begin with you may need to install some additional packages as shown below. So long as these dependencies are met the following should be sufficient for building the sources on fedora30, ubuntu 18.04 and the Raspberry Pi. I used the following sequence on ubuntu and the Pi, and the one below that on fedora30.
Ubuntu/Raspberry Pi
$ sudo apt-get install autoconf
$ sudo apt-get install autopoint
$ sudo apt-get install libavutil-dev
$ sudo apt-get install libavcodec-dev
$ sudo apt-get install libavformat-dev
$ sudo apt-get install libjpeg-dev
$ sudo apt-get install libsqlite3-dev
$ sudo apt-get install libexif-dev
$ sudo apt-get install libid3tag0-dev
$ sudo apt-get install libogg-dev
$ sudo apt-get install libvorbis-dev
$ sudo apt-get install libflac-dev
$ sudo apt-get install gettext
Fedora30
$ sudo dnf install autoconf
$ sudo dnf install automake
$ sudo dnf install gettext-devel
$ sudo dnf install \
https://download1.rpmfusion.org/free/fedora/rpmfusion-free-release-$(rpm -E %fedora).noarch.rpm \
https://download1.rpmfusion.org/nonfree/fedora/rpmfusion-nonfree-release-$(rpm -E %fedora).noarch.rpm
$ sudo dnf install ffmpeg-devel
$ sudo dnf install libjpeg-devel
$ sudo dnf install sqlite-devel
$ sudo dnf install libexif-devel
$ sudo dnf install libid3tag-devel
$ sudo dnf install libogg-devel
$ sudo dnf install libvorbis-devel
$ sudo dnf install flac-devel
$ sudo dnf install make
Extract the sources using tar and switch to the directory. You should now be in a position to compile the code using the following sequence of commands.
$ tar -xjf minidlna.tar.bz2
$ cd minidlna
$ ./autogen.sh
$ ./configure
$ make
To install and then check the installation you can enter the following commands
$ sudo make install
$ sudo checkinstall
Once you have built the application you will need to point MiniDLNA at your files by altering the contents of the minidlna.conf file, and the fire the whole thing up with a command similar to the one given below
sudo /usr/local/sbin/minidlnad -R -f ~/.minidlna/minidlna.con
To get the full benefit of the code you may need to set the tags associated with your mp3 files. The following screenshot shows how an audiobook has been configured for use here.

For instructions on how to start minidlna automatically when the system is powered have a look at Minidlna: How to Auto Start.